Sourdough Dinner Rolls
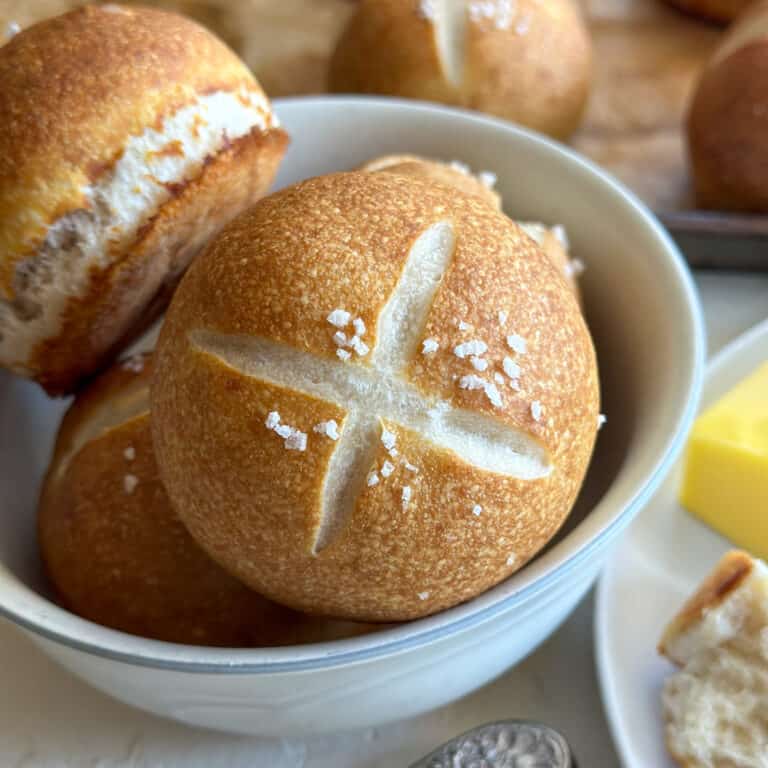
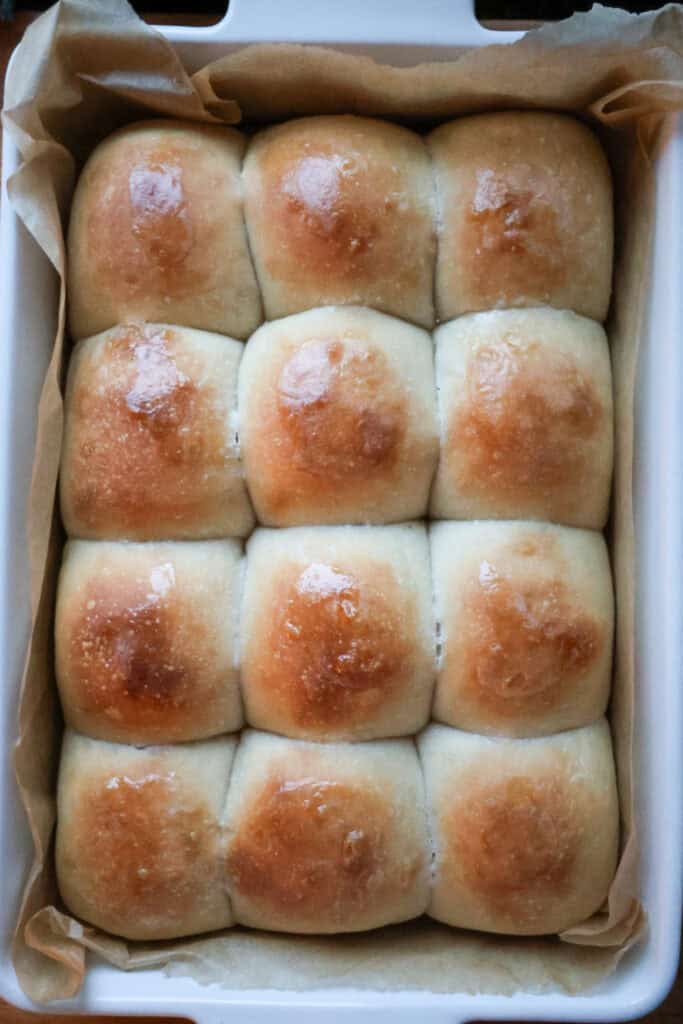
These sourdough dinner rolls use traditional long fermented sourdough technique to leaven them. The result is a delightfully light and fluffy dinner roll that rivals the softness of traditional rolls made with active yeast. These dinner rolls are great to make ahead of time and feature two methods (freezing and cold fermentation in the fridge) to prepare in advance. Whether you are planning on serving these with Thanksgiving or Christmas dinner or as a side dish for your weeknight meal, these rolls are sure to be a hit. For more holiday sourdough recipes, check out my sourdough discard pumpkin pie made with sourdough discard pie crust, sourdough discard orange cranberry bread, and my sourdough gingerbread cookie recipe.
Why This Recipe Works
If you’re familiar with my recipes, you know I love testing different methods to find which one works the best. I think of sourdough baking like a science experiment and always try to understand why one method works better than another. For this recipe, I tested many different techniques which I detailed here:
The Recipe Testing Notes
Test 1
- Method: I used my sourdough discard dinner roll recipe as the base recipe and simply substituted active starter for the yeast.
- Result: The rolls were good but seemed pale and slightly dense.
Test 2
- Method: I made a tangzhong and increased the hydration. A tangzhong is method where you cook a portion flour and water already accounted for in the dough and add it back in. The gelatinous, cooked mixture allows the final bread to hold moisture better.
- Result: The texture was improved but the rolls still appeared pale.
Test 3
- Method: I substituted the 100% hydration starter for a sweet stiff starter. Sweet stiff starters are made by taking a portion of your regular starter. You feed it with a higher ratio of flour to water and a bit of sugar. This technique favors the yeast in your starter, allowing the dough to rise better. To account for the lower amount of water in the starter, I increased the liquid in the rest of the dough and also added a bit of sugar to help with caramelization.
- Result: The perfect sourdough dinner roll. This was the technique that took these dinner rolls to the next level. The final rolls had a beautiful golden brown top, and were soft and fluffy on the inside.
Ingredients
These rolls only need a few ingredients you probably already have:
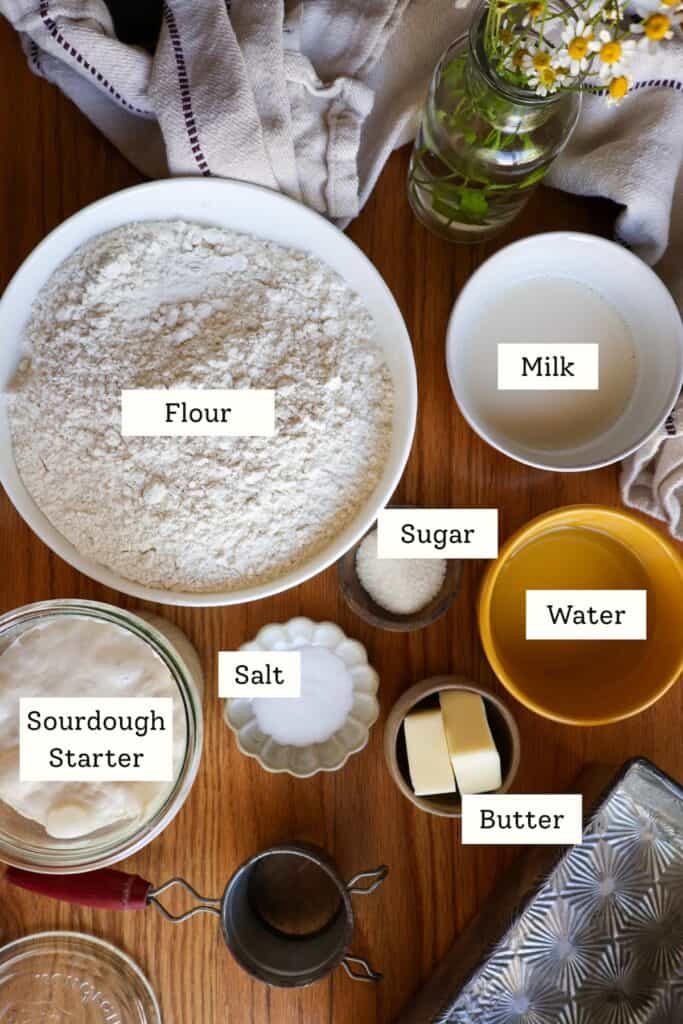
- Sourdough Starter: Make sure your sourdough starter is active before using it in this recipe. It should reliably double with each feed. If it has been in the fridge for a while or is not reliably doubling, feed it a few times 8 hours apart to strengthen it. If you need more help on caring for your starter or aren’t sure if it is ready to use, check out my guide on how to maintain a sourdough starter.
- Flour: You can use all purpose flour or bread flour in this recipe.
- Water
- Milk: Use whatever milk you have on hand. This recipe can easily be substituted with your favorite non-dairy or vegan milk. I have tested it with soy milk and it works wonderfully.
- Sugar: The amount of sugar in this recipe is small. The primary purpose is to support the yeast and result in better caramelization of the crust (i.e. browning). You can substitute honey if desired.
- Butter: I recommend unsalted butter but you can use salted butter if that is all you have on hand. Unsalted butter is typically better for baking because you can control the salt the recipe better. This recipe only uses a small amount of butter so the added salt is negligible. If you are dairy free, you can substitute your favorite vegan or non-dairy butter.
- Salt
How to Make Vegan Sourdough Dinner Rolls
This recipe works well as a vegan sourdough dinner roll by substituting the milk and butter for dairy-free options. I recommend soy or oat milk and Earth Balance.
How to Make Sourdough Dinner Rolls
Make the Sweet Stiff Starter (The night before baking)
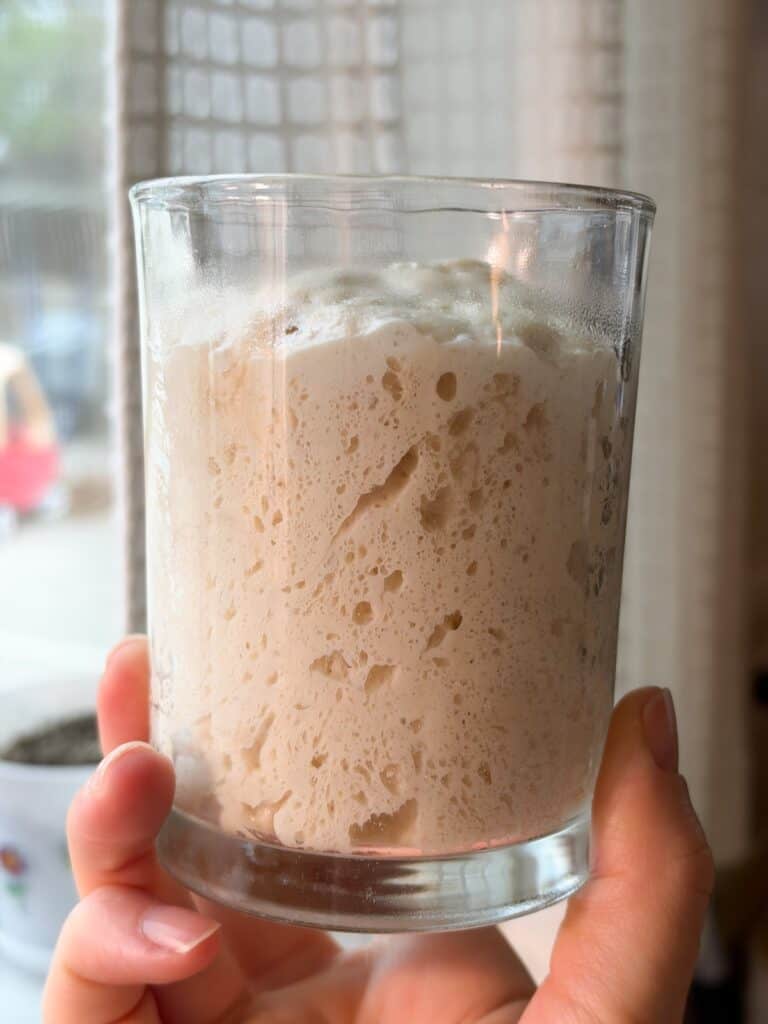
Use your regular sourdough starter to mix the sweet stiff starter. The mixture will feel quite thick. Keep stirring or kneading with your hands until the starter is fully mixed. Cover and let rest overnight. In the morning, the starter will appear aerated and will appear doubled in size.
Make the Tangzhong
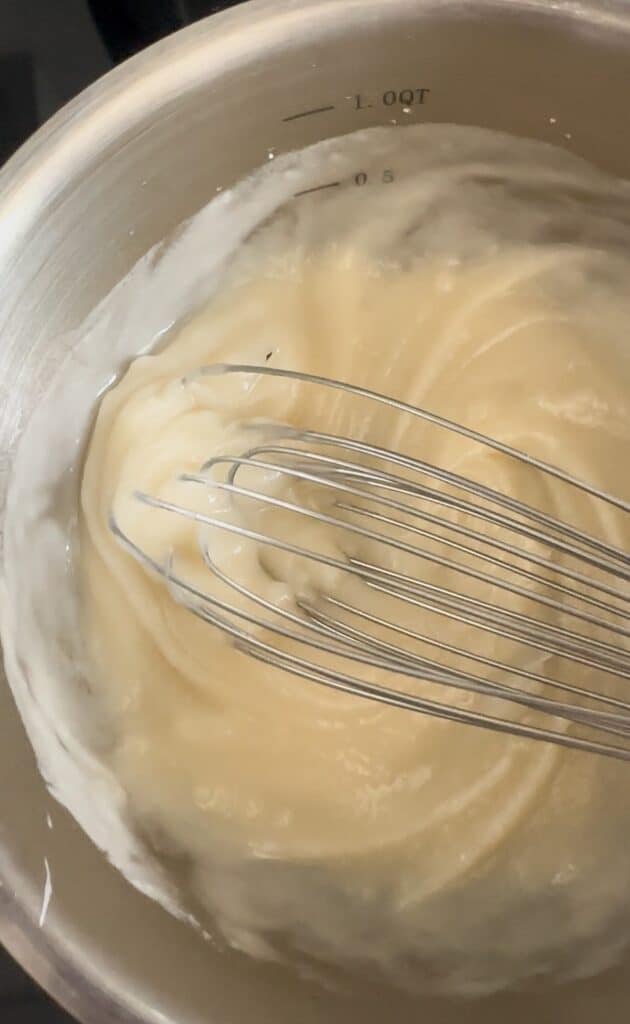
Don’t fear the tangzhong! I know the name sounds intimidating but it is a super simple thing to make. You just cook the flour and water on the stove until it forms a thick goo-like consistency. Let it cool while you weigh the rest of the dough ingredients.
Mix the Dough
In the bowl of a stand mixer, measure out all dough ingredients. Add the tangzhong, placing it away from the sweet stiff starter so it doesn’t cook the yeast. Once you start mixing the dough, the tangzhong will cool down significantly. Mix the dough just until it comes together into a cohesive dough. Cover and let rest for 30 minutes.
Add the Butter and Salt
After the 30 minute rest, add the softened butter and salt. Mix on low speed for 7 minutes. Alternatively, you can mix the butter and salt in by hand.
Once you’ve completed this step, cover and let the dough rest for 15 minutes. You will now move on to your stretch and folds.
Perform Stretch and Folds
Every 15 minutes for the next hour, complete a set of stretch and folds. You’ll grab one edge of the dough and pull up just until you feel maximum tension of the dough (you don’t want it to start to tear). Fold the dough over itself. Turn the bowl 1/4 turn and repeat until you make a complete cycle around the bowl.
Repeat this process every 15 minutes for a total of 3 more sets. Once you have completed the stretch and folds, cover the bowl and let rest for 2-4 hours to allow the dough to proof. The goal is to get the dough about 2/3 of the way through bulk fermentation before shaping. If your house is on the cooler side, let rest for 4 hours before shaping. If it’s warmer in your home, shape after 2 hours.
Note: You actually can shape these right away after performing your stretch and folds but the dough is a bit easier to work with if you let it bulk ferment first.
Shape the Rolls
Divide the rolls into 12 equally sized pieces. If you want your rolls to be very uniform, you can weight them. They should each be about 97 g.
To shape the rolls, pinch the edges of the dough up on all sides, then pinch the dough together to seal the shape. Place the dough ball seam side down on a clean work surface and gently twist and pull to tighten the roll.
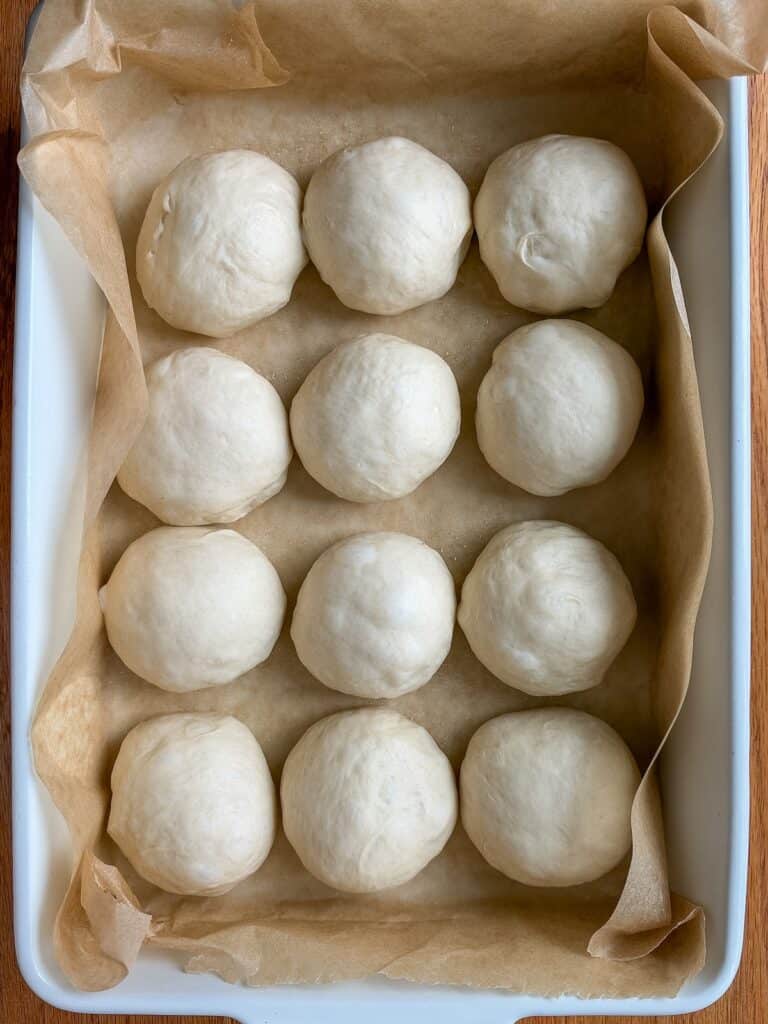
Once all your rolls are shaped, transfer to a lightly oiled 9×13 inch baking pan, arranging the rolls in a 3×4 formation.
Final Proof
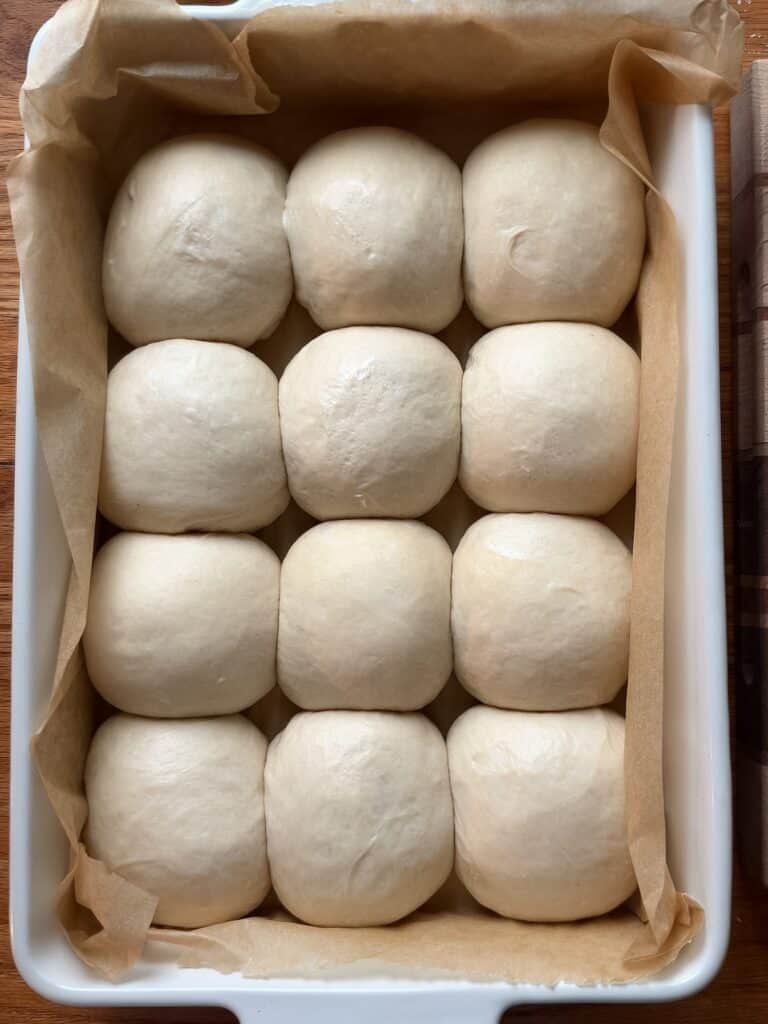
Cover the rolls and let rest to complete their final proof. The rolls should appear light and fluffy and should be touching when done.
Bake the Rolls
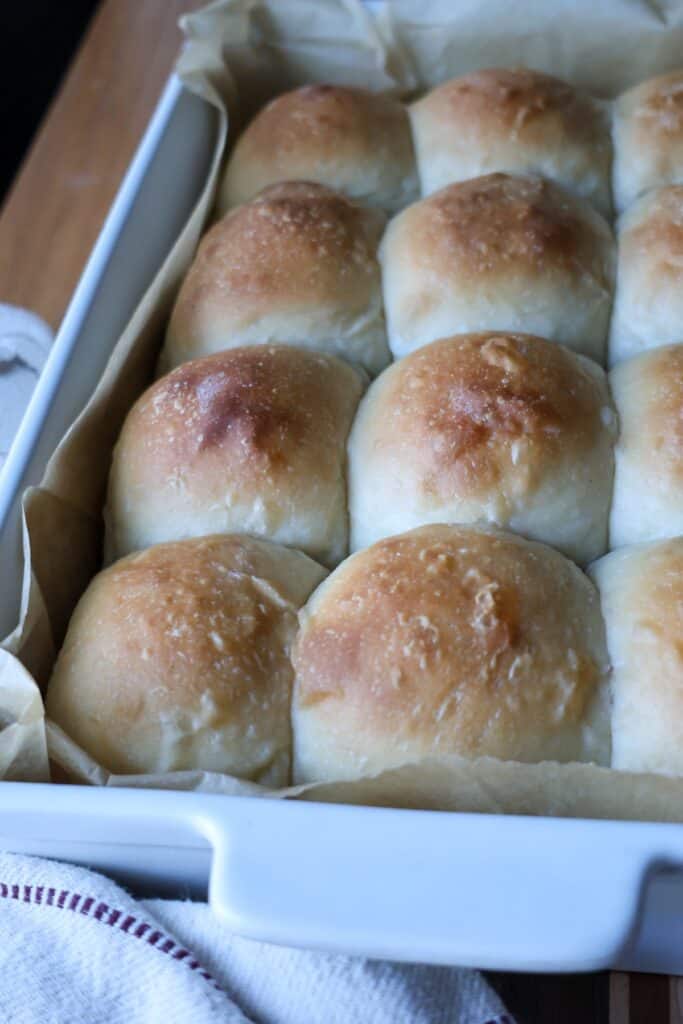
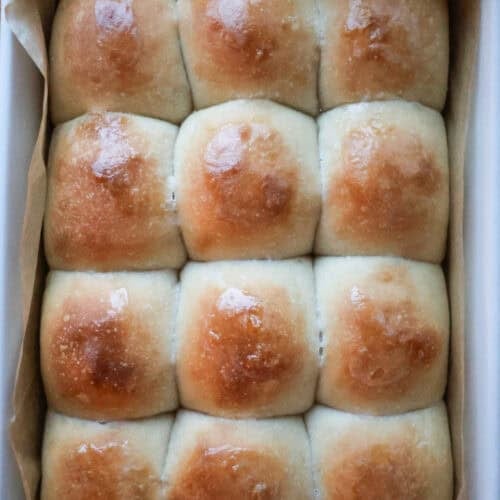
Bake the rolls at 375F for 30-35 minutes. The tops should appear golden brown when done.If desired, brush the tops with some butter to give them that bakery fresh glisten. Let rest 10-15 minutes after baking to cool. These sourdough rolls are best served fresh.
How to Make Sourdough Dinner Rolls Ahead of Time
Method 1: Freeze Ahead of Time
There are a few methods of freezing ahead of time but for most bakers, the easiest and most consistent way to get good results is to bake the rolls ahead of time. Let the rolls cool completely, then store them in a freezer bag for 2-3 months. When you are ready to serve them, defrost them completely at room temperature then transfer to a baking pan and warm in a 300F oven for 10-15 minutes.
Method 2: Cold Fermentation in the Fridge
Once your rolls have completed bulk fermentation after shaping, you can do a cold fermentation. I recommend a 24 hour cold fermentation but you may be able to get away with 48 hours. When ready to bake, remove from the fridge and bake as directed in the recipe.
Sourdough Dinner Rolls
Ingredients
Sweet Stiff Starter
- 20 g active sourdough starter
- 80 g all purpose flour
- 40 g water
- 5 g sugar
Tangzhong
- 150 g water
- 30 g flour
Dough
- 550 g all purpose flour or bread flour
- 125 g milk
- 125 g water
- 30 g sugar
- 55 g unsalted butter softened to room temperature
- 10 g salt
Instructions
The Night Before Baking
- Make the Sweet Stiff Starter: In a medium jar, mix together all ingredients for the sweet stiff starter (starter, flour, water and sugar) until well combined. Cover and allow to rest until doubled in size. Note: Sweet stiff starters are very thick and should have the consistency of dough when mixed. Ensure the starter is mixed thoroughly and no dry flour remains.
The Next Morning
- Make the Tangzhong: In a small saucepan, whisk together 150 g water with 30 g flour over low-medium heat until it forms a gelatinous, pudding-like consistency. Remove from heat and allow to cool while you measure the ingredients for the dinner roll dough.
- In the bowl of a stand mixer, add the remaining flour, sourdough starter, milk, water, sugar, and tangzhong.
- Using the dough hook attachment, mix the dough on low speed until it comes together and forms a cohesive dough. Cover and allow to rest for 30 minutes.
- After the 30 minute rest, add the butter and salt and mix on low speed for 7 minutes. The butter and salt should be thoroughly mixed into the dough when done mixing.
- Cover the bowl with plastic wrap or a damp towel and rest at room temperature for 15 minutes.
- After the 15 minutes, perform a set of stretch and folds. Grab one edge of the dough, then pull up until you feel maximum tension. Fold the dough over itself. Turn the bowl 1/4 turn and repeat. Continue to perform stretch and folds until you have completed a total of 4. Cover and allow to rest.
- Repeat this process 1-2 more times every 15 minutes. After the last set of stretch and folds, cover the bowl.
- Allow the dough to rise until it has risen about 50% (about 4-6 hours from the time you first mixed your dough). Once risen, proceed to shape the rolls. A note on timing: Pay attention to your home temperature. Typically your dough will be close in temperature to the ambient temperature of your kitchen. If your kitchen is on the warmer side (76-78 degrees), shape the rolls at 4 hours. If it is on the cooler side (70-73 degrees), shape the rolls at 6 hours.
Shape the Rolls
- Line a 9×13" baking pan with parchment paper and spray with cooking spray or grease with butter. Set aside.
- Transfer the dough to lightly floured counter. Use a bench scraper to divide the dough into 12 equal pieces weighing about 97 g each. If the dough seems sticky, lightly flour your hands.
- Shape each dough piece into a ball by pulling opposite edges of the dough up to the top with your fingers. Pinch the dough to seal it. Place the dough seam side down on the counter and gently twist and pull the dough a few times to tighten the roll.
- Transfer the dough balls to the prepared baking pan in a 3×4 formation, spacing apart evenly.
- Cover the baking pan with plastic wrap and let rise at room temperature until the rolls roughly double in size. The rolls will appear smooth and fluffy with domed tops and should touch when done. Note on Timing: If your house is on the warmer side (76-78 degrees) this will typically take around 2-4 hours after shaping. If your house is cooler(70-73 degrees), this can take another 3-6 hours.
- When rolls are done, proceed to bake immediately or place in refrigerator for a cold fermentation. Note: There is no exact upper limit on cold fermentation but be aware that the rolls will continue to ferment in the fridge. I generally recommend a 12-24 hour cold fermentation for best results.
When Ready to Bake
- Preheat oven to 375℉.
- Bake the rolls for 30-35 minutes. When done, the tops of the rolls will appear golden brown. Allow to rest for 10 minutes before serving.