How to Make a Low Waste Sourdough Starter
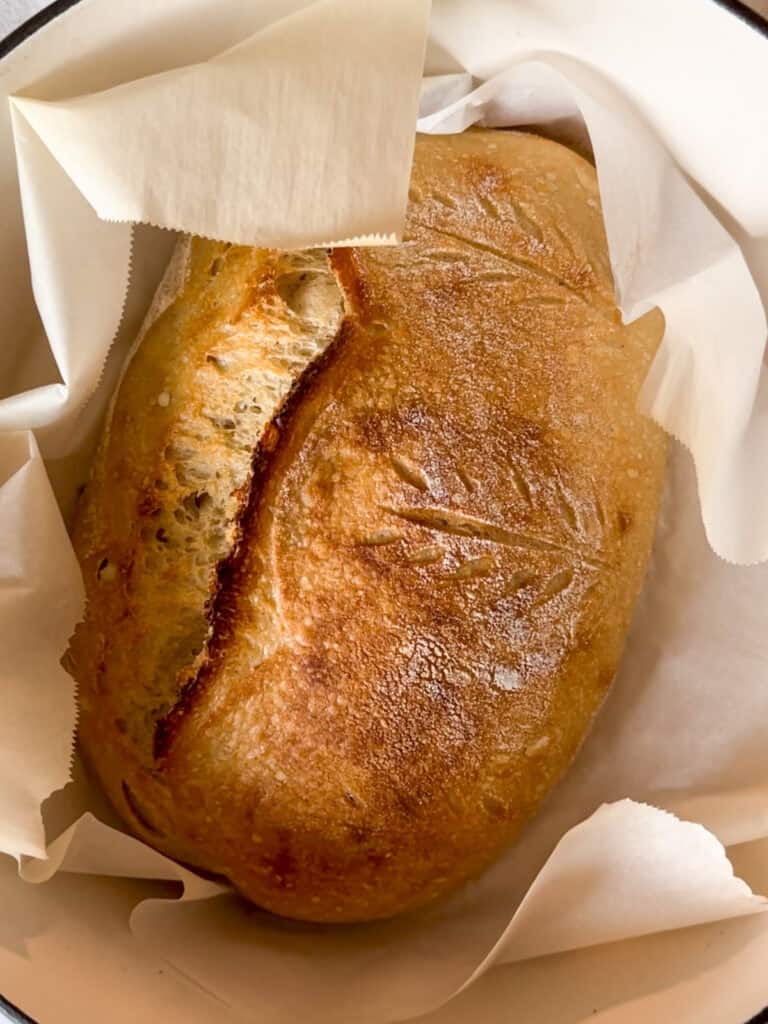
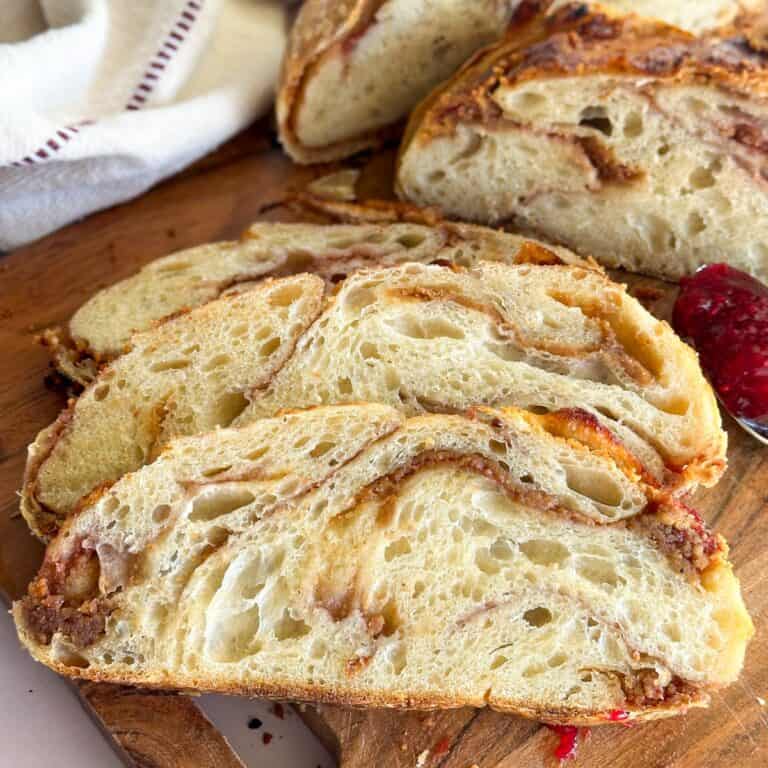
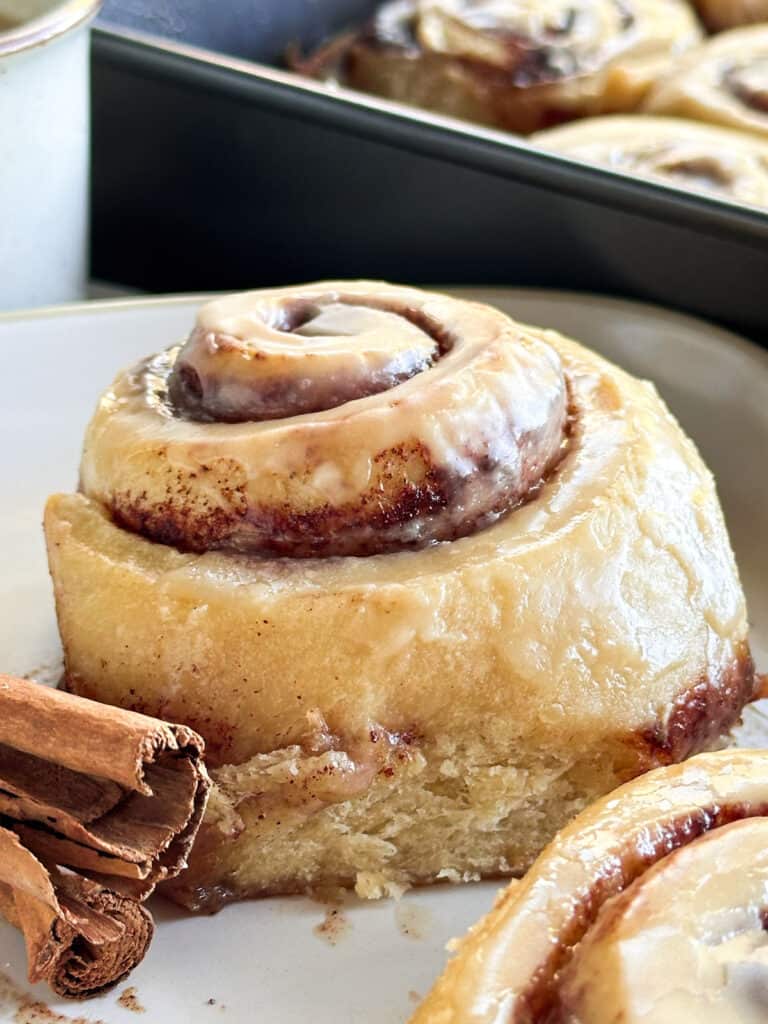
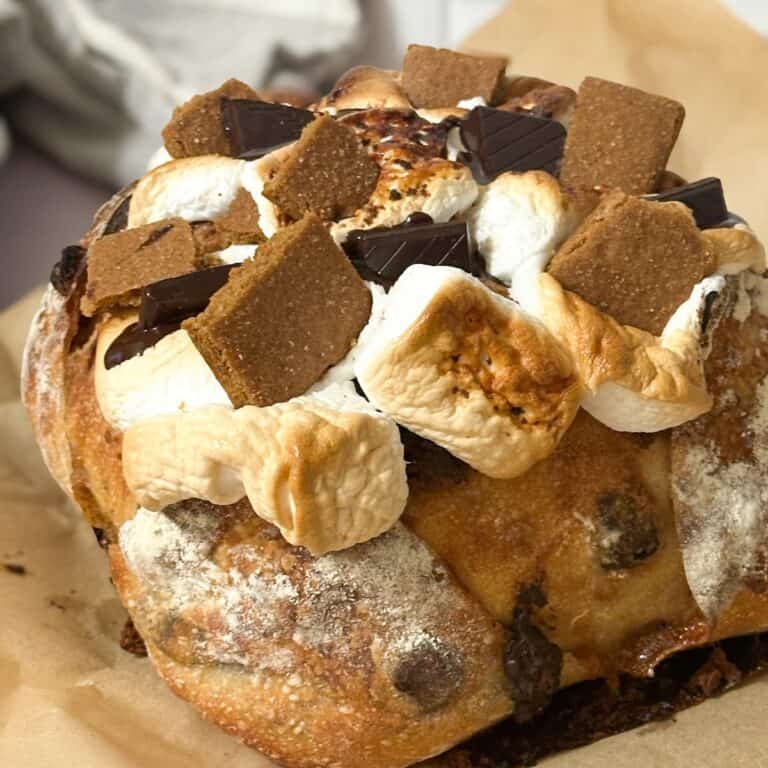
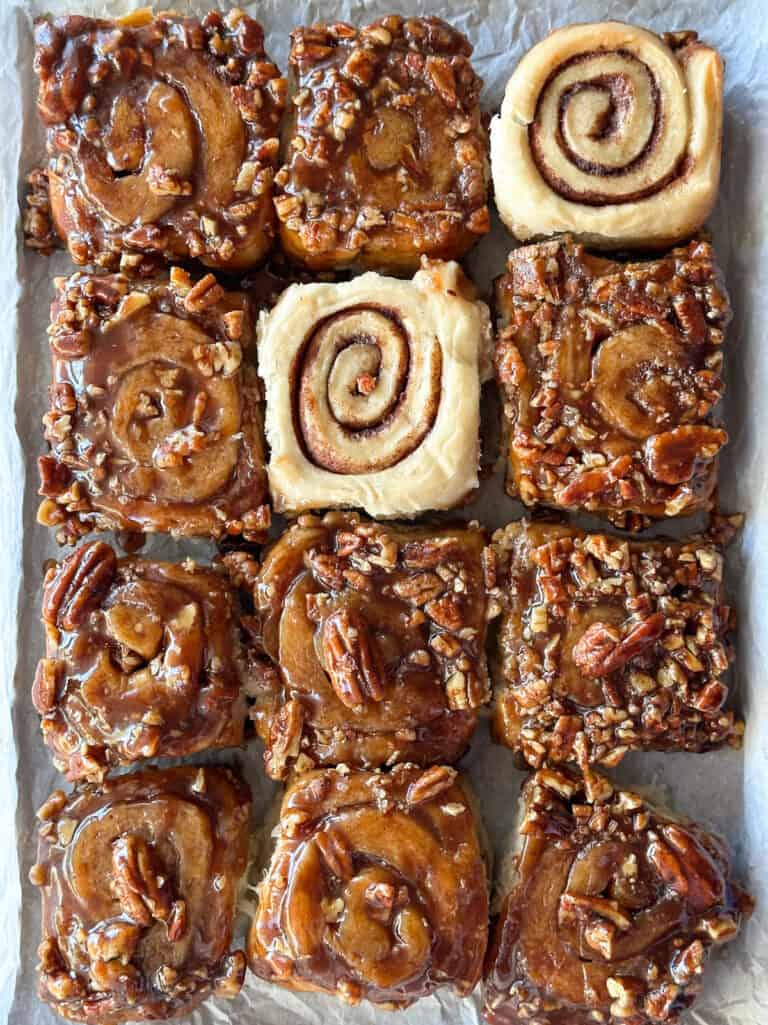
If you’re here, I’m assuming you are ready to start your sourdough journey. Congratulations! Sourdough baking is something I absolutely fell in love with and I’m pretty sure you will too. There is so much you can do with your sourdough starter (like make sourdough sandwich bread, vegan sourdough cinnamon rolls, sourdough pretzel buns, sourdough strawberry cinnamon rolls or sourdough sticky buns). First, you have to get your hands on a sourdough starter.
This post contains a step by step guide on how to make an active, thriving sourdough starter from scratch with minimal waste.
First, let’s briefly talk about what a sourdough starter is and why we use it.
What Is a Sourdough Starter?
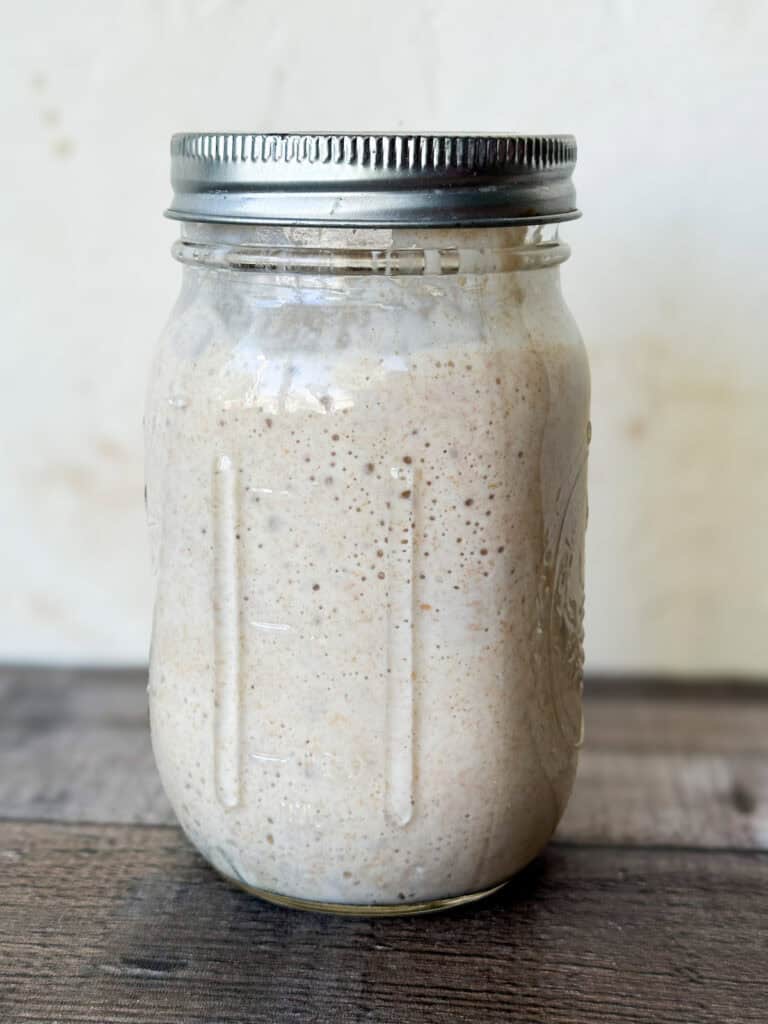
A sourdough starter is a culture of yeast and lactic acid producing bacteria. This culture is made from a mixture of flour and water. It must be “fed” regularly to maintain activity, but once established, it is actually very resilient.
One of the things that makes sourdough so special is that every sourdough starter is different and contains a unique combination of yeast strains and lactic acid bacteria. The combination is affected by several factors. These include the organisms that naturally live on your skin and in your home, the type of flour you use, temperature, and how often you feed your starter.
This sourdough starter contains the yeast and bacteria that is used to leaven bread (rather than instant yeast that is commonly used in regular bread).
Because this yeast is not “instant,” it also means that it takes longer for sourdough bread to rise. This longer rise time contributes to some of the sour flavor that sourdough bread is known for.
Why is Sourdough Bread Sour?
The reason sourdough bread tastes sour is because of the fermentation process. When this occurs, the yeast in the sourdough starter consumes the sugars in the flour. This happens when sourdough starter is fed with flour and water, and when it is added to bread dough.
So now that you have some understanding about what a starter is and how it works, let’s move on to how to make a sourdough starter.
What Makes this Sourdough Starter Recipe Great?
There are so many different ways to make a sourdough starter and most of them will end up with about the same results. One of the issues I had when I was making my sourdough starter was that it produced SO MUCH WASTE.
When you are creating a sourdough starter, you have to feed the starter multiple times per day. Each time you feed it, you have to discard half of it.
Many people try to avoid wasting their sourdough starter by using it in sourdough discard recipes. This is great for established starters, but you cannot use any of the discard until 10-14 days after you start your starter (this is discussed in greater detail later in the post).
For me, and I’m sure many of you, the thought of wasting so much good flour is a bit gut-wrenching. So I set out on a mission to create a sourdough starter from scratch, with minimal waste.
What I found is that you do not need large amounts of flour to get a starter going. What matters is the ratio of water to flour. So in my recipe, we only use 10 grams of flour and 10 grams of water in each feed.
Equipment and Ingredients
You need a few important items to make your starter:
- Jar: A clean small jar such as a Weck jar or a mason jar.
- Kitchen scale: If you live in the United States, you probably have not done a lot of baking by weighing ingredients. I know it is intimidating at first, but trust me. Once you get the hang of it you will probably find it is much easier and the superior way to bake. I personally use this kitchen scale. It works great and is very affordable!
- Flour: You are going to use both white bread flour and whole wheat flour for your recipe. Bread flour is what you are going to be generally baking with, but the wheat flour has lots of extra nutrients to feed your starter. Even now that my starter is established, I still feed it some whole wheat flour to keep it happy .
- A special note about flour: This is another ingredient that you want to make sure you are using the right kind. I recommend purchasing organic, unbleached, unbromated flour. While many people have made starters with regular flour, I highly recommend removing all variables that could potentially hinder your success. Once your starter is established, you can experiment with feeding your starter different kinds of flour to see if it is still happy.
- Water: Water is one of the tricky components of making a sourdough starter. I generally do not recommend using water from your tap to make your starter because certain chemicals, like chlorine can inhibit the growth of your starter. For this reason, I recommend using distilled or mineral water. Once your starter is established, you can experiment with your tap water by taking a small amount of your active starter and trying to feed it with your tap water. This way, you won’t ruin your whole starter, or keep yourself from being able to get a starter going.
How to Make a Low Waste Sourdough Starter
Step 1: Gather a small clean jar such as a Weck jar or mason jar.
Step 2: Mix together 200 g of whole wheat flour and 200 g of bread flour in a large airtight container. You do this for ease of adding your flour to your starter at feedings.
Step 3: (DAY 1) Add 10 g of your flour blend and 10 g water to your jar. Mix well with a spoon or small rubber spatula. Scrape off the excess that is now stuck to your mixing spoon with another spoon or spatula until almost all of it is now in the jar. Cover with lid or plastic wrap. Store in a dry place.
Note: I recommend storing your jar away from the sink and away from anywhere you store your produce. Storing your starter near produce on the counter can increase the likelihood that your starter will develop mold.
Step 4: Allow to rest 24 hours.
Step 5: (DAY 2) After the 24 hours rest, place a clean fresh jar on your scale. Add 10 g of the starter mixture. Discard the rest (you can toss this in the trash or compost the discard for no waste). Don’t skip this step. You need to keep the correct ratios during feeding times to build a healthy starter.
Expert Tip
Do not rinse all the discard down the sink drain. Scrape out all the excess into the trash, then fill your jar with water and allow it to soak before rinsing. Globs of starter put down the drain can clog up your drain, resulting in expensive plumbing bills.
Step 6: Feed your starter another 10 g of flour and 10 g of water. Let rest another 24 hours.
Step 7: (Day 3) Again, use a clean jar and add 10 g of flour, 10 g of water and 10 g of starter. Let rest for 24 hours.
Step 8: (DAY 4) At this point, you are now going to start feeding your starter every 12 hours using the same feeding method. Continue to do this until your starter begins to reliably rise to about double its size and fall after each feed. A great way to do this is to place a rubber band around your jar at the level of the starter after you feed it. This gives you an objective measure to track your starter’s rise. Once this occurs, your starter is ready to bake!
This process can vary in time based on several factors, temperature being the most important. Some people have gotten their starter going after only 7 days, but in my experience, for most people, it takes much longer. When I made my original starter in the dead of winter, it took 3 weeks before my starter was finally ready.
Don’t give up! It can be a frustrating process but once you get your starter going, you will feel so empowered.
Using a proofing box or the proof setting on your oven can speed up the process, but be very careful not to accidentally bake your starter! Yes, I have done this.
NOTE: I know using a fresh jar at each feed is a bit cumbersome, but it reduces the risk of mold formation on the top of the jar. When I was first creating my sourdough starter, I had it mold on me when I decided to stop using a fresh jar. Once your starter is established, you can use the same jar for extended periods of time.
Why Can’t You Use Sourdough Discard Right Away?
The reason you should not use your sourdough starter discard in recipes right away is because there can be harmful bacteria that has not yet been “pushed out” by the yeast and healthy bacteria.
In the early days of creating a starter, you might notice your starter rise and double (just like you would expect from an established starter). This is pretty much always due to other bacteria and organisms, not yeast.
Until the starter is more established it is not safe to use or consume.
How Long Should I Wait Before Using My Sourdough Discard in Recipes?
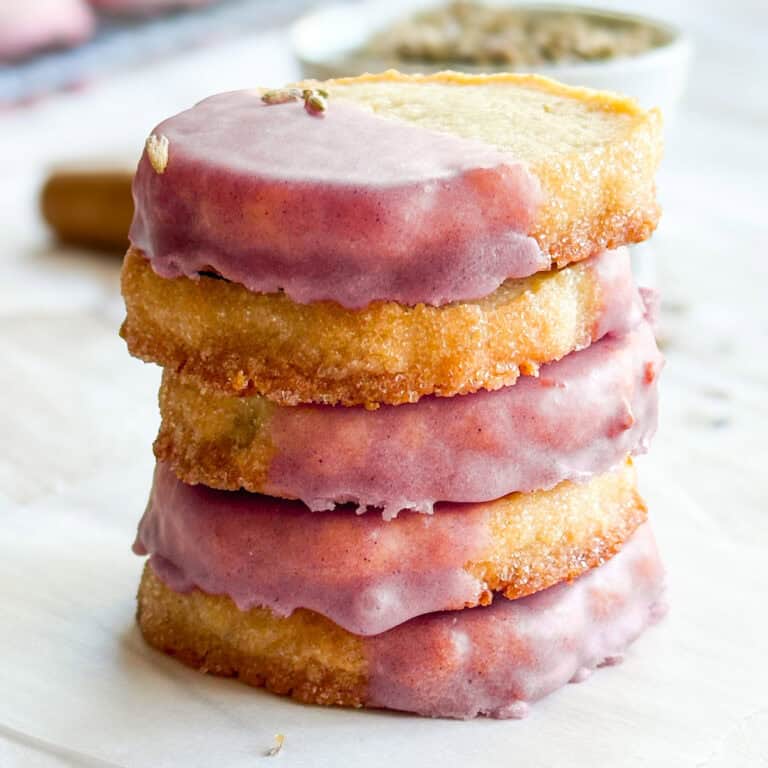
There is no single answer to this question unfortunately. Many sources say 7 days, others say 2 weeks. I generally like to err on the side of caution and would wait at least 10 days before using in your recipes. If you are using my method, you will have much less discard overall, so don’t risk it. Once your starter is a bit more established, you can start using it in sourdough discard recipes, which I have a TON of on this site (like my super popular sourdough shortbread cookies, and my sourdough lemon bars).

After the starter is ready do you continue to just use 10/10/10 or would you need to up it to the normal 30/30/30?
Hi Holly! Once I have my starter established I usually feed it just to make enough for the recipe I am using. I will then save the remainder in the jar and feed it a small amount to feed it. After that feed, I will typically store it in the fridge until a day or two before the next time I plan to bake a recipe. I will then pull it out and work on increasing the volume with regular feedings until I have enough for my recipe. I hope this helps!